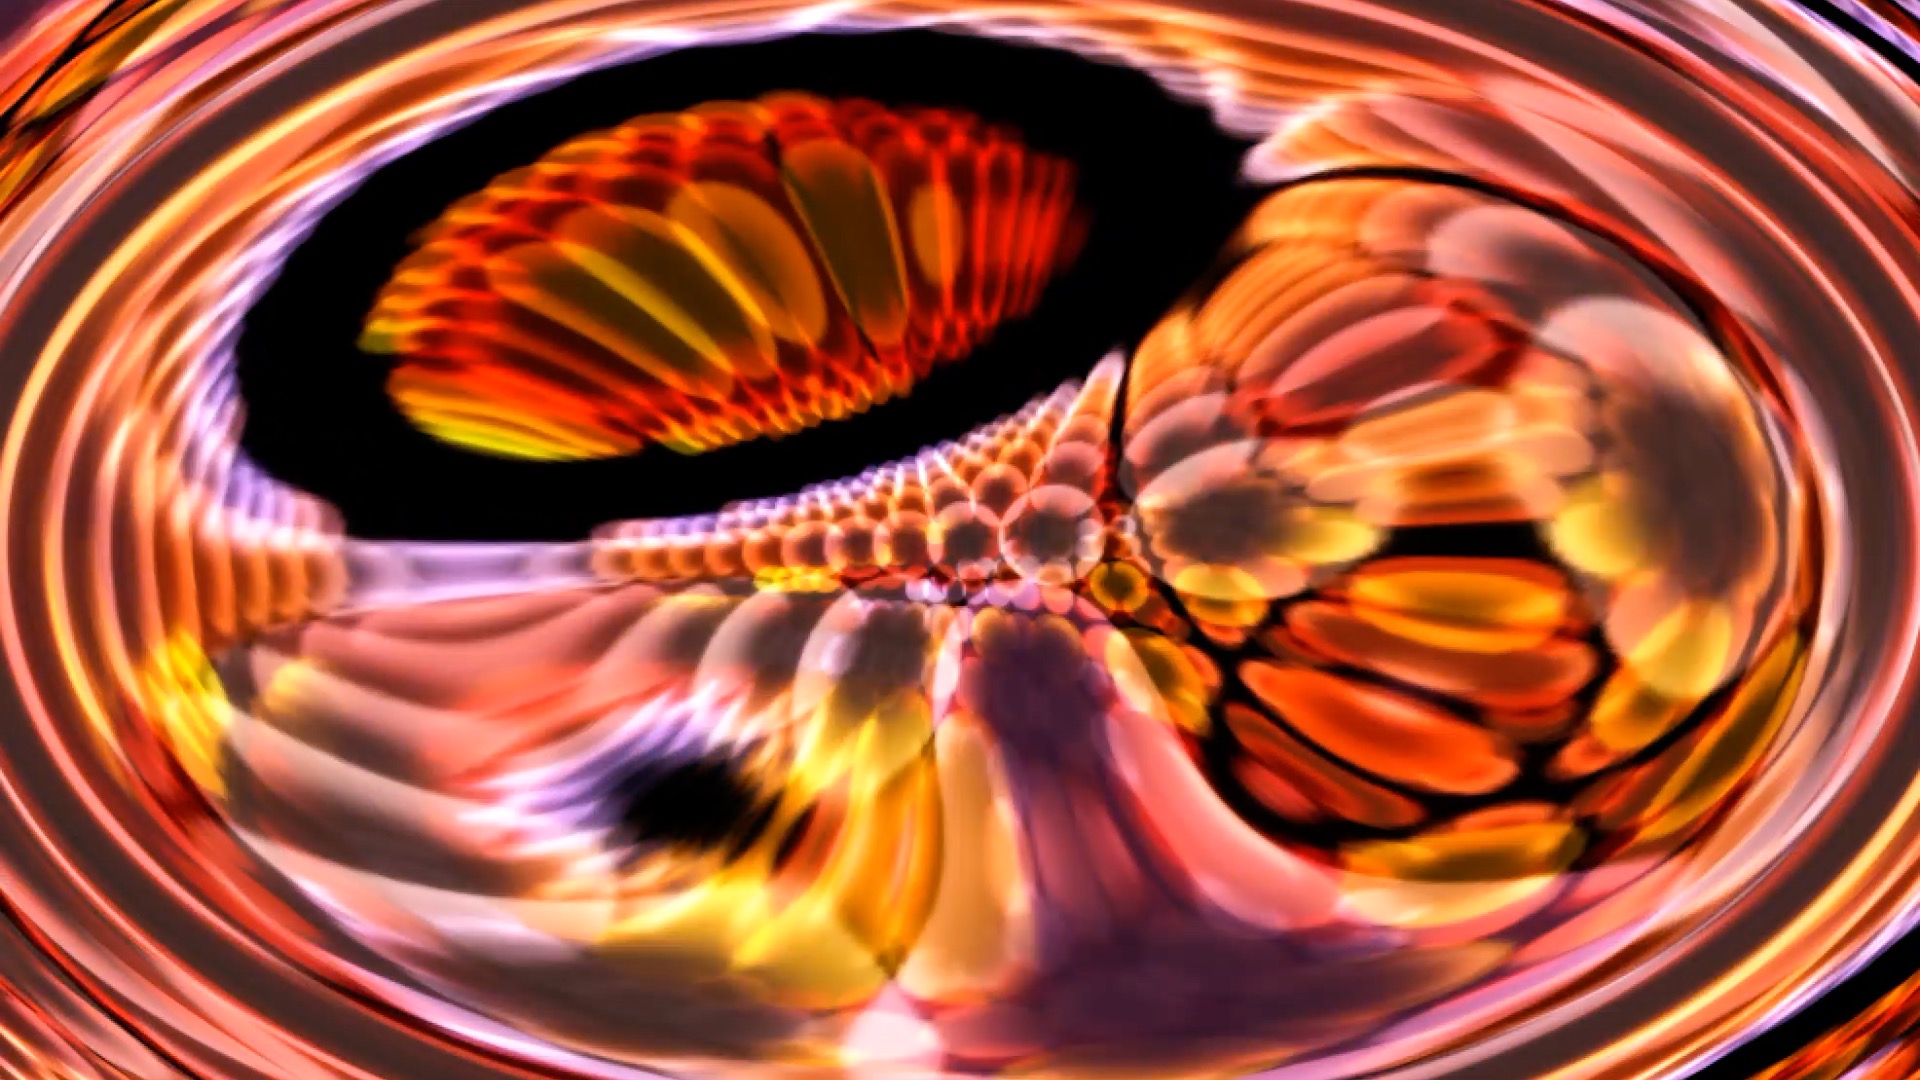
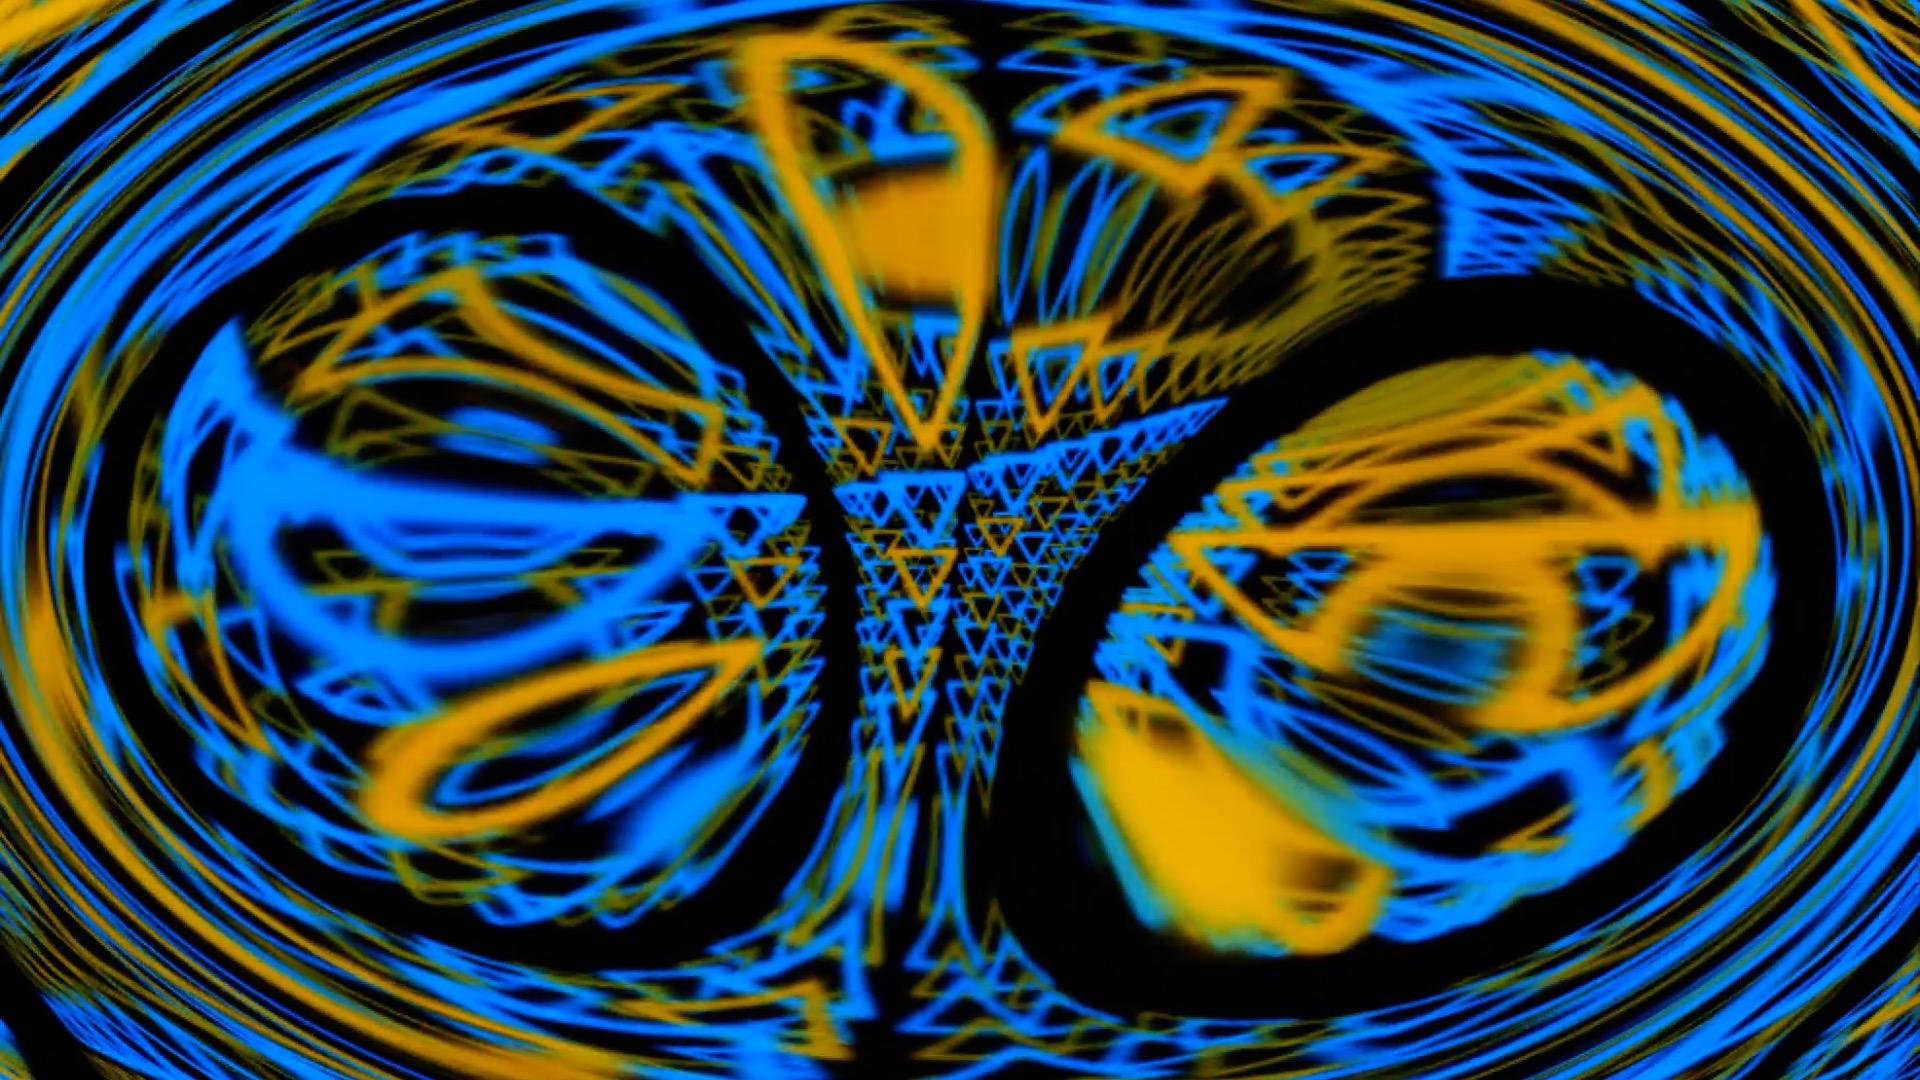
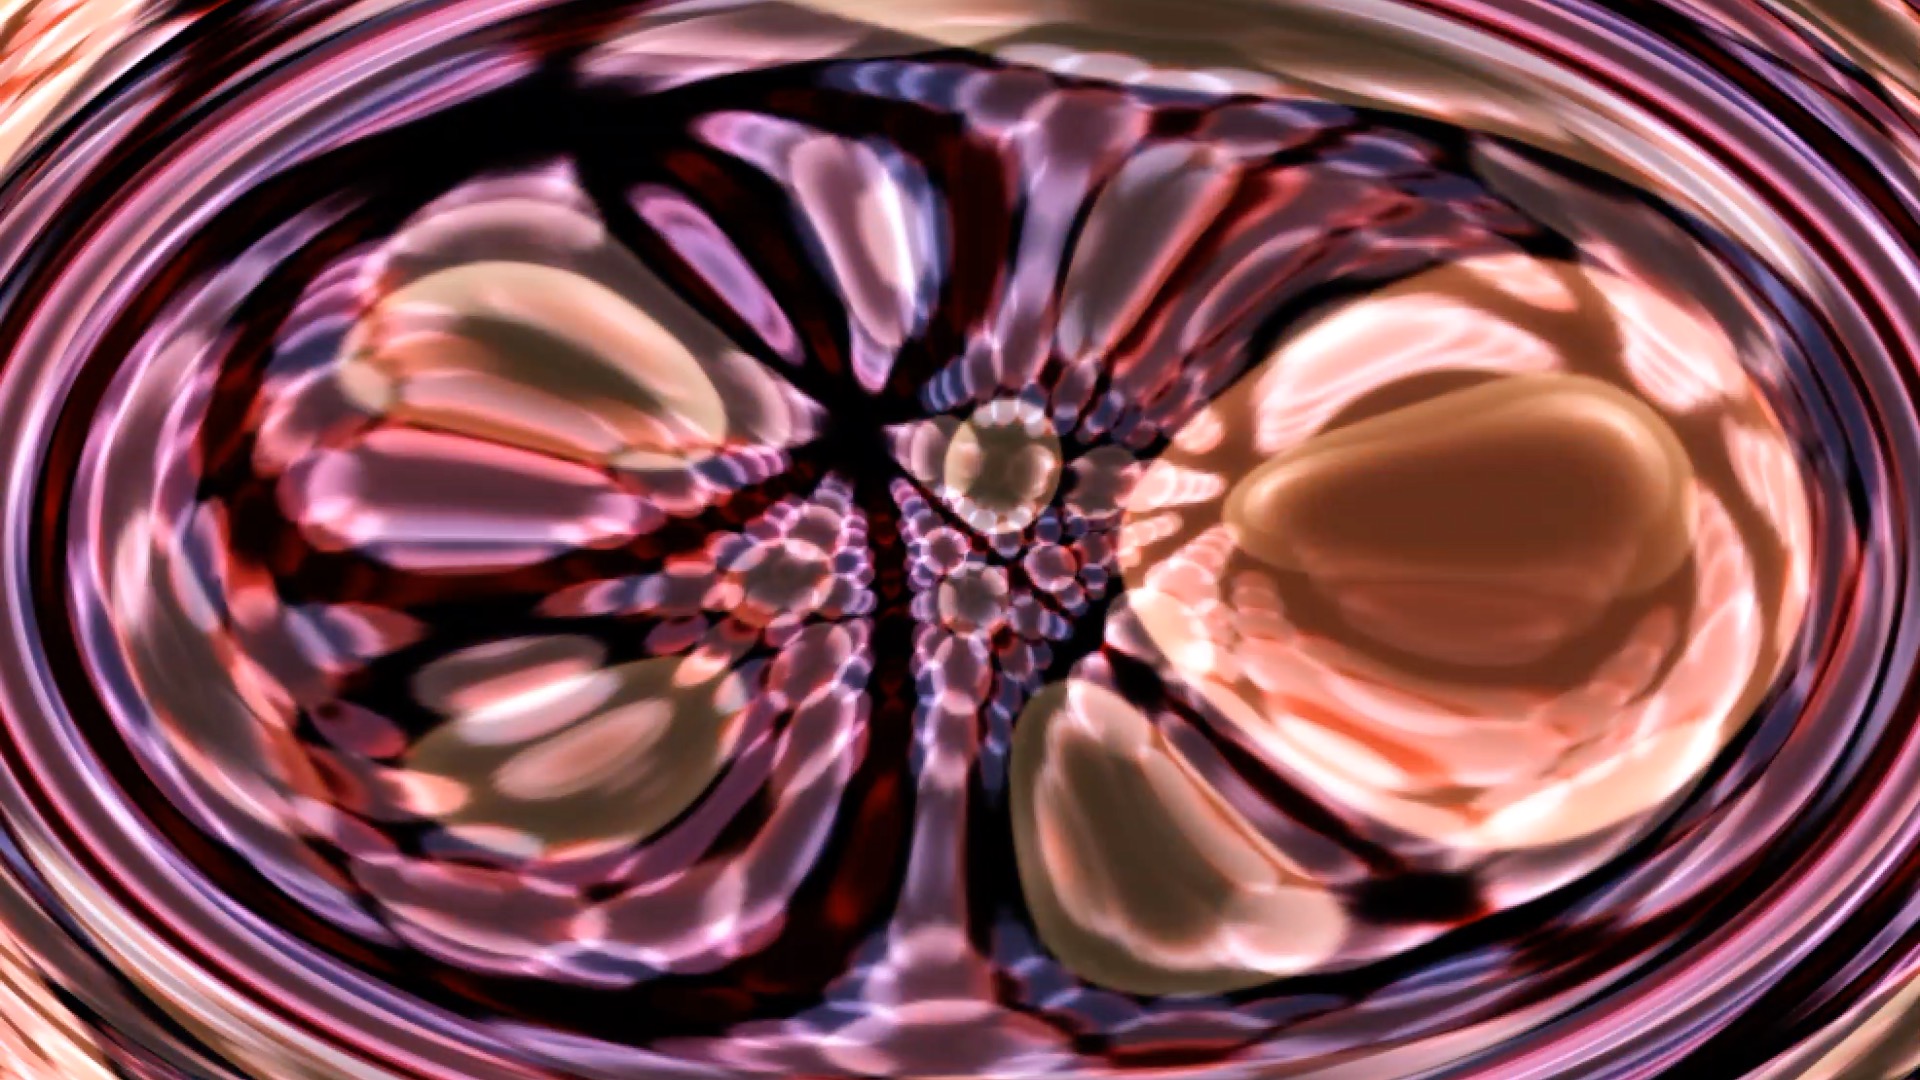
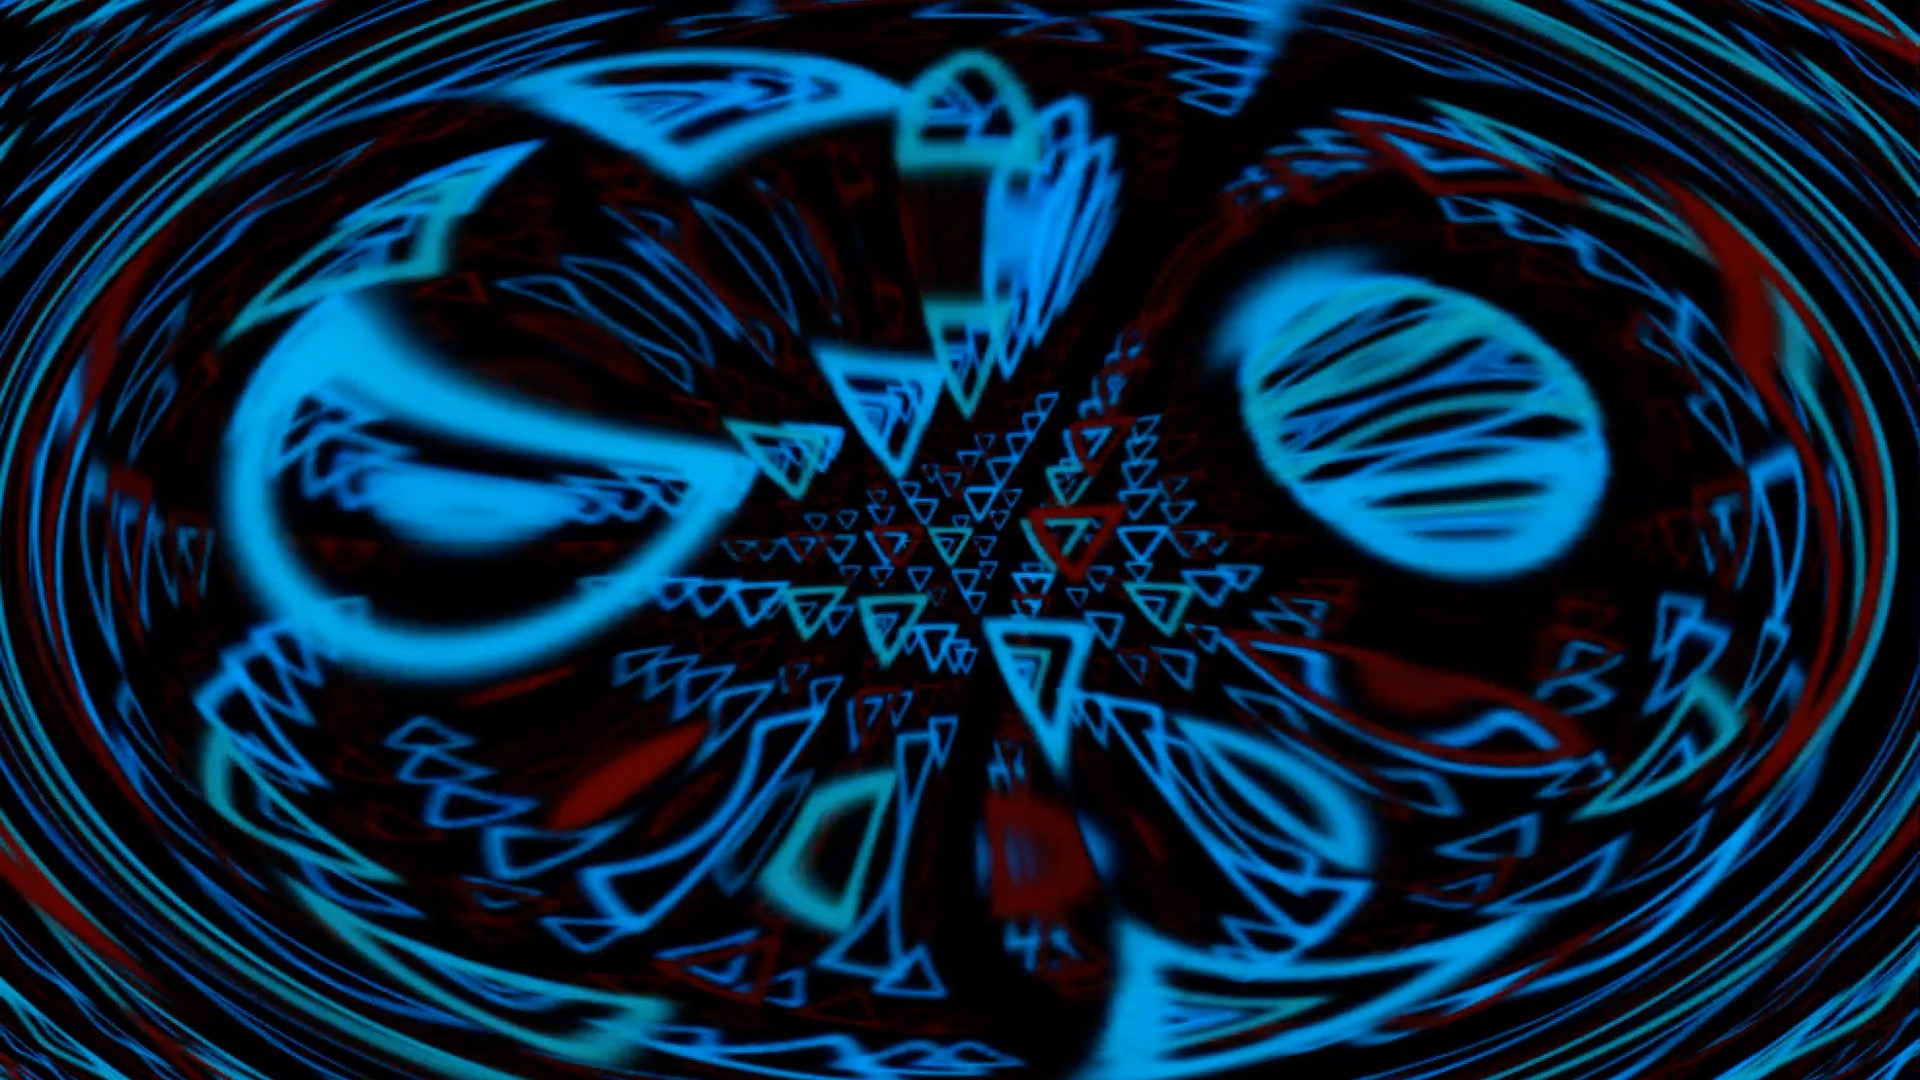
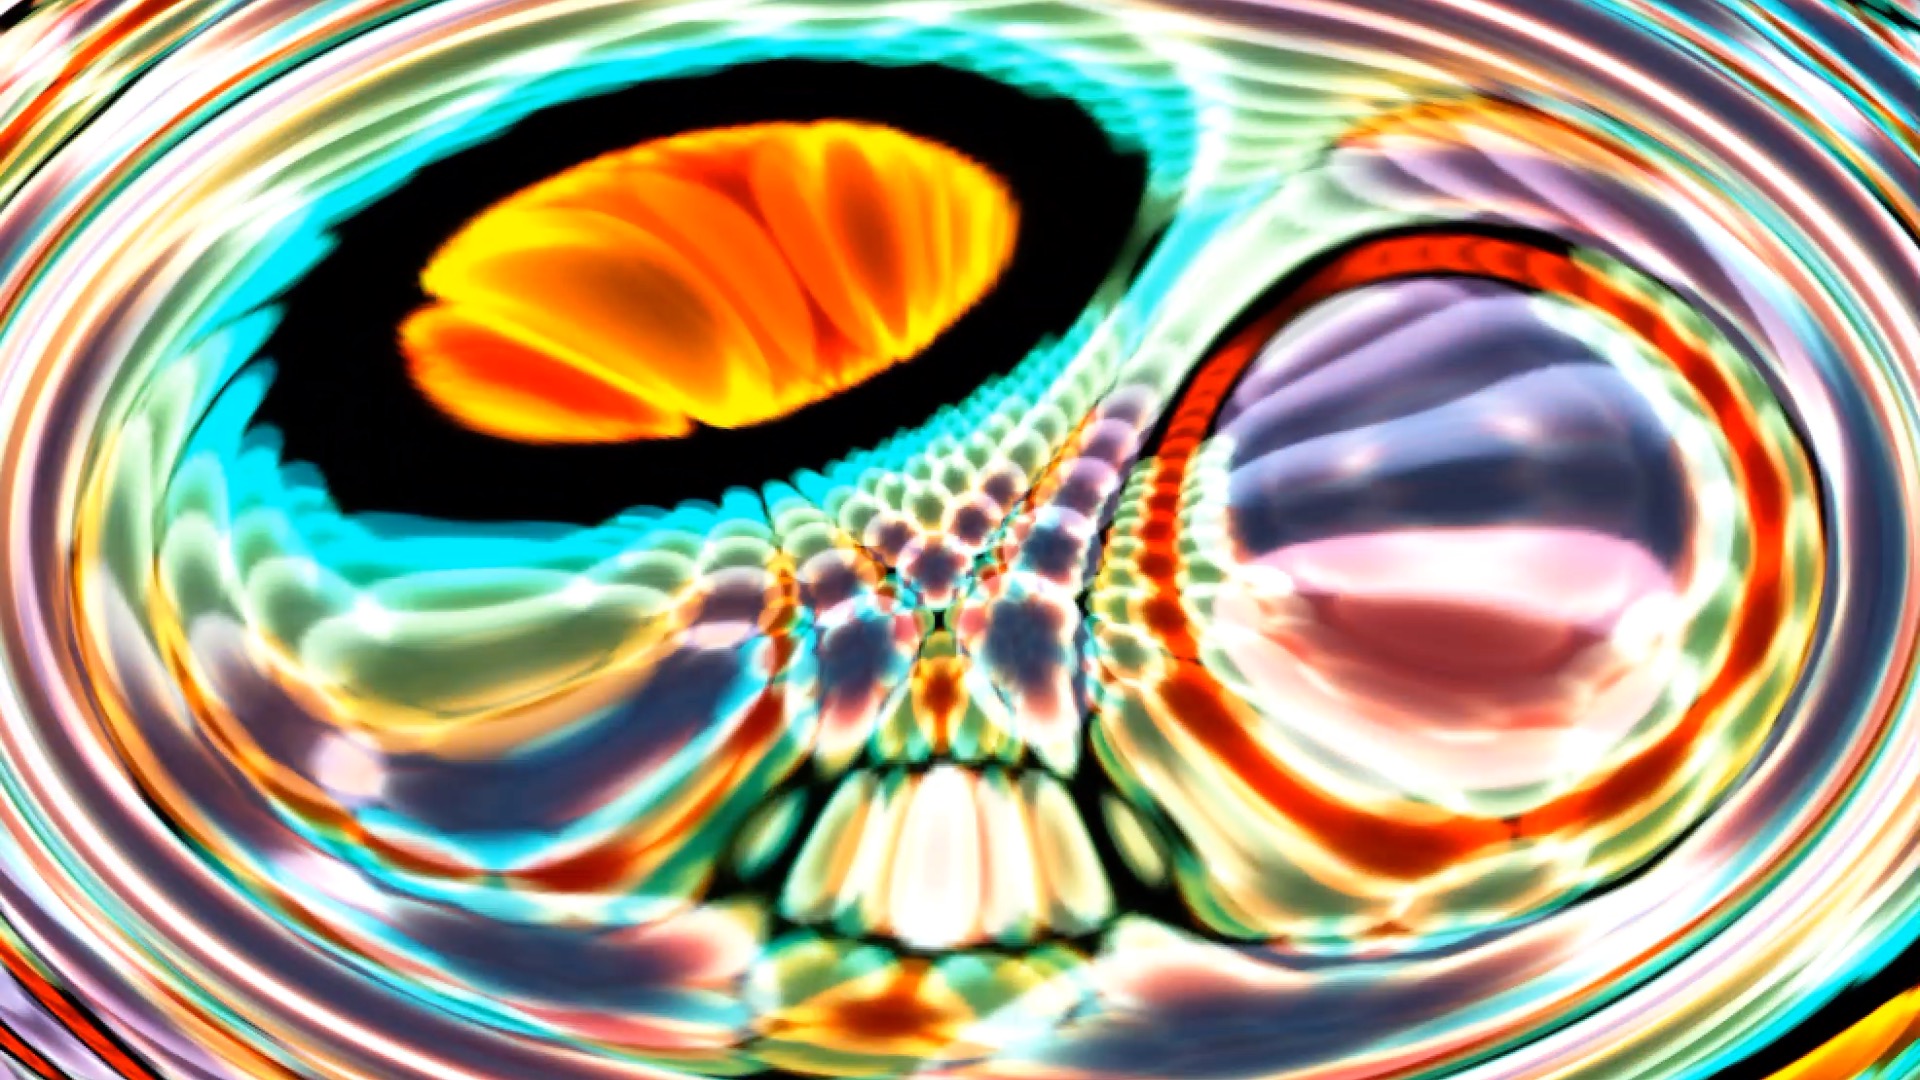
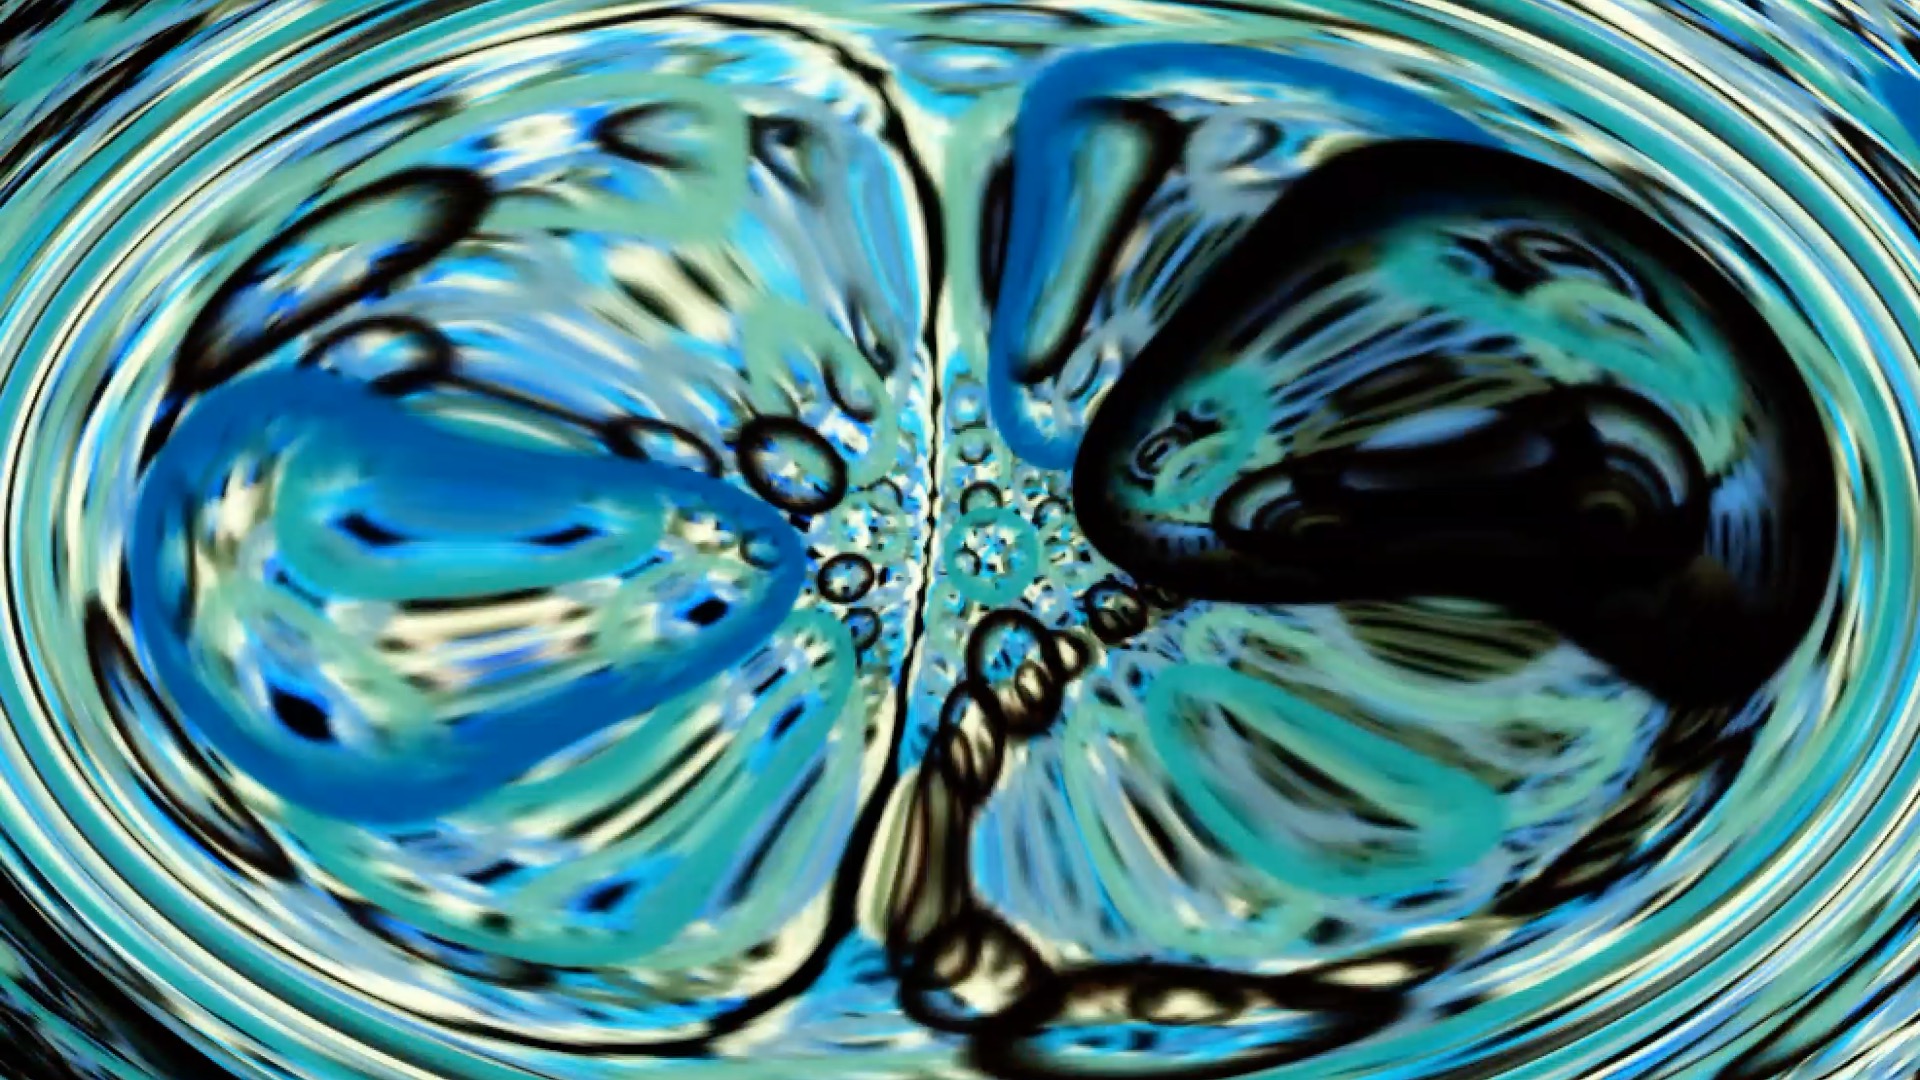
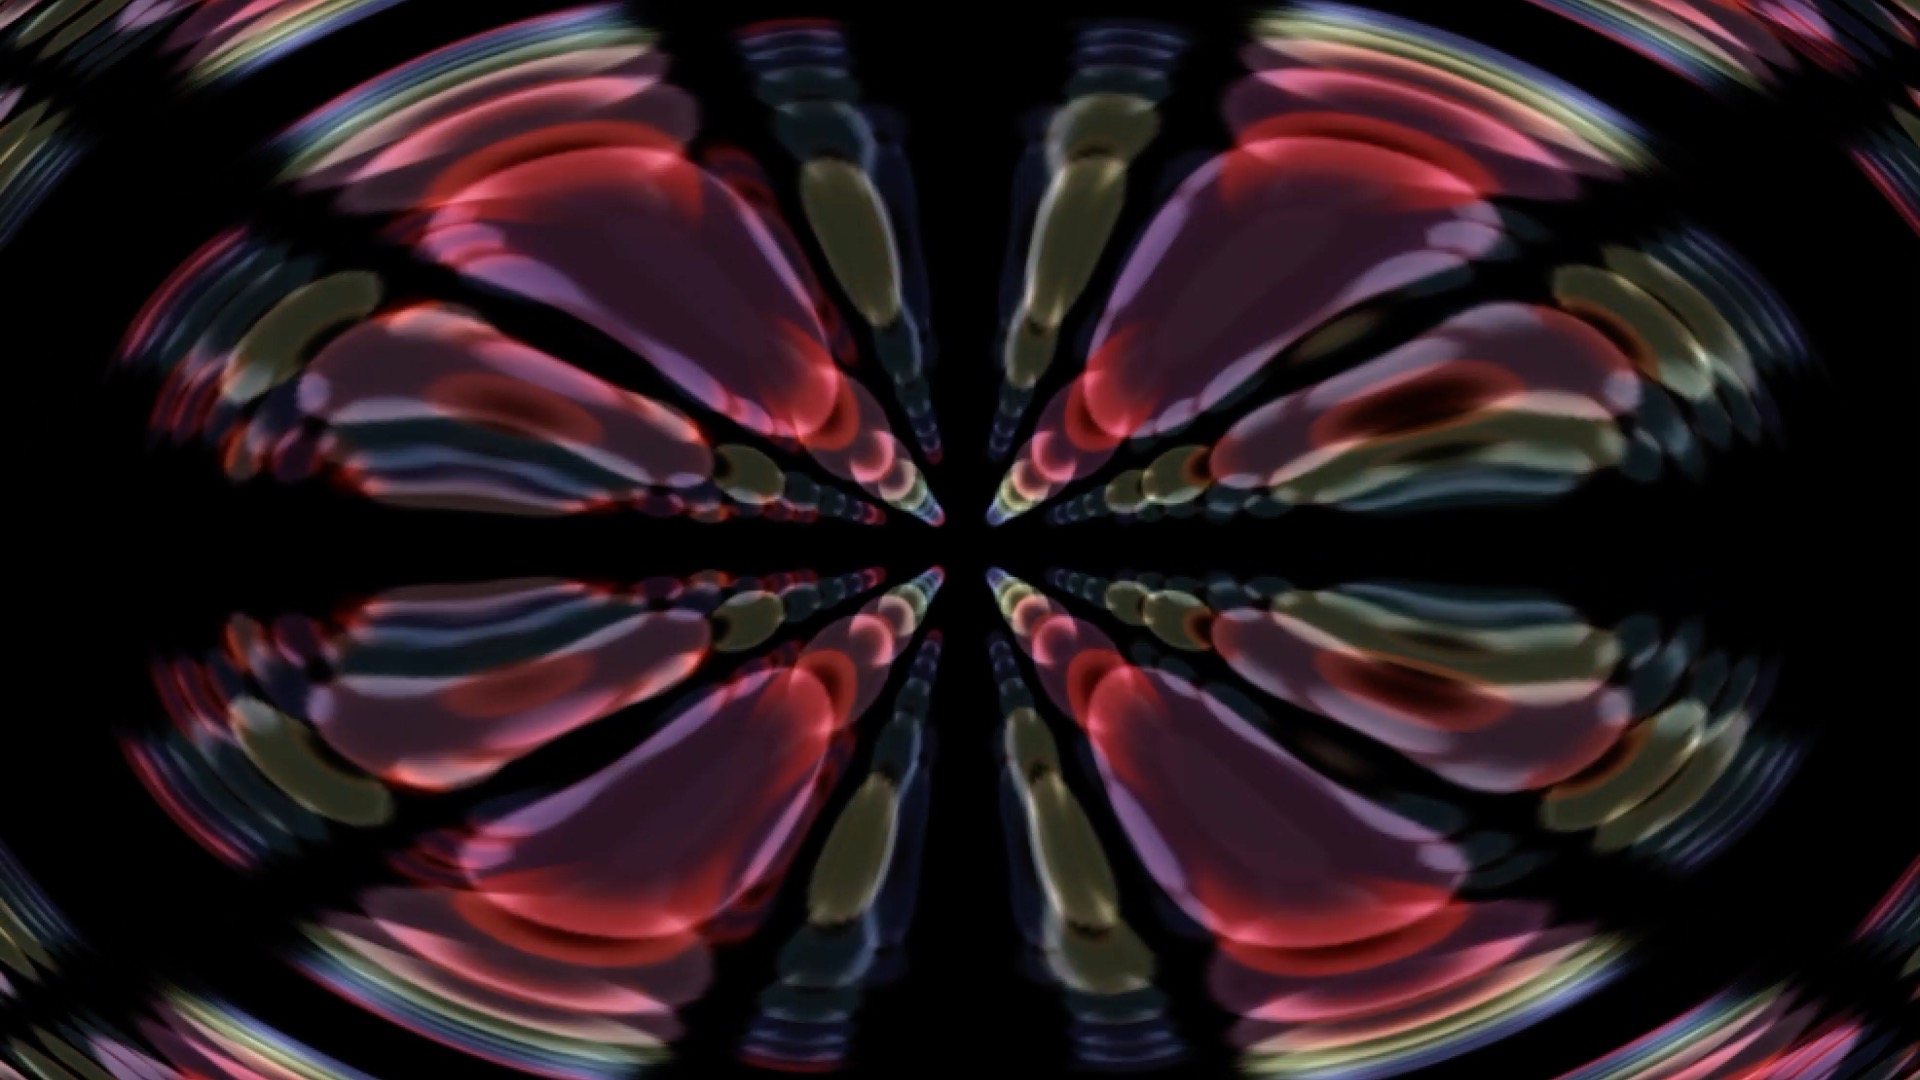
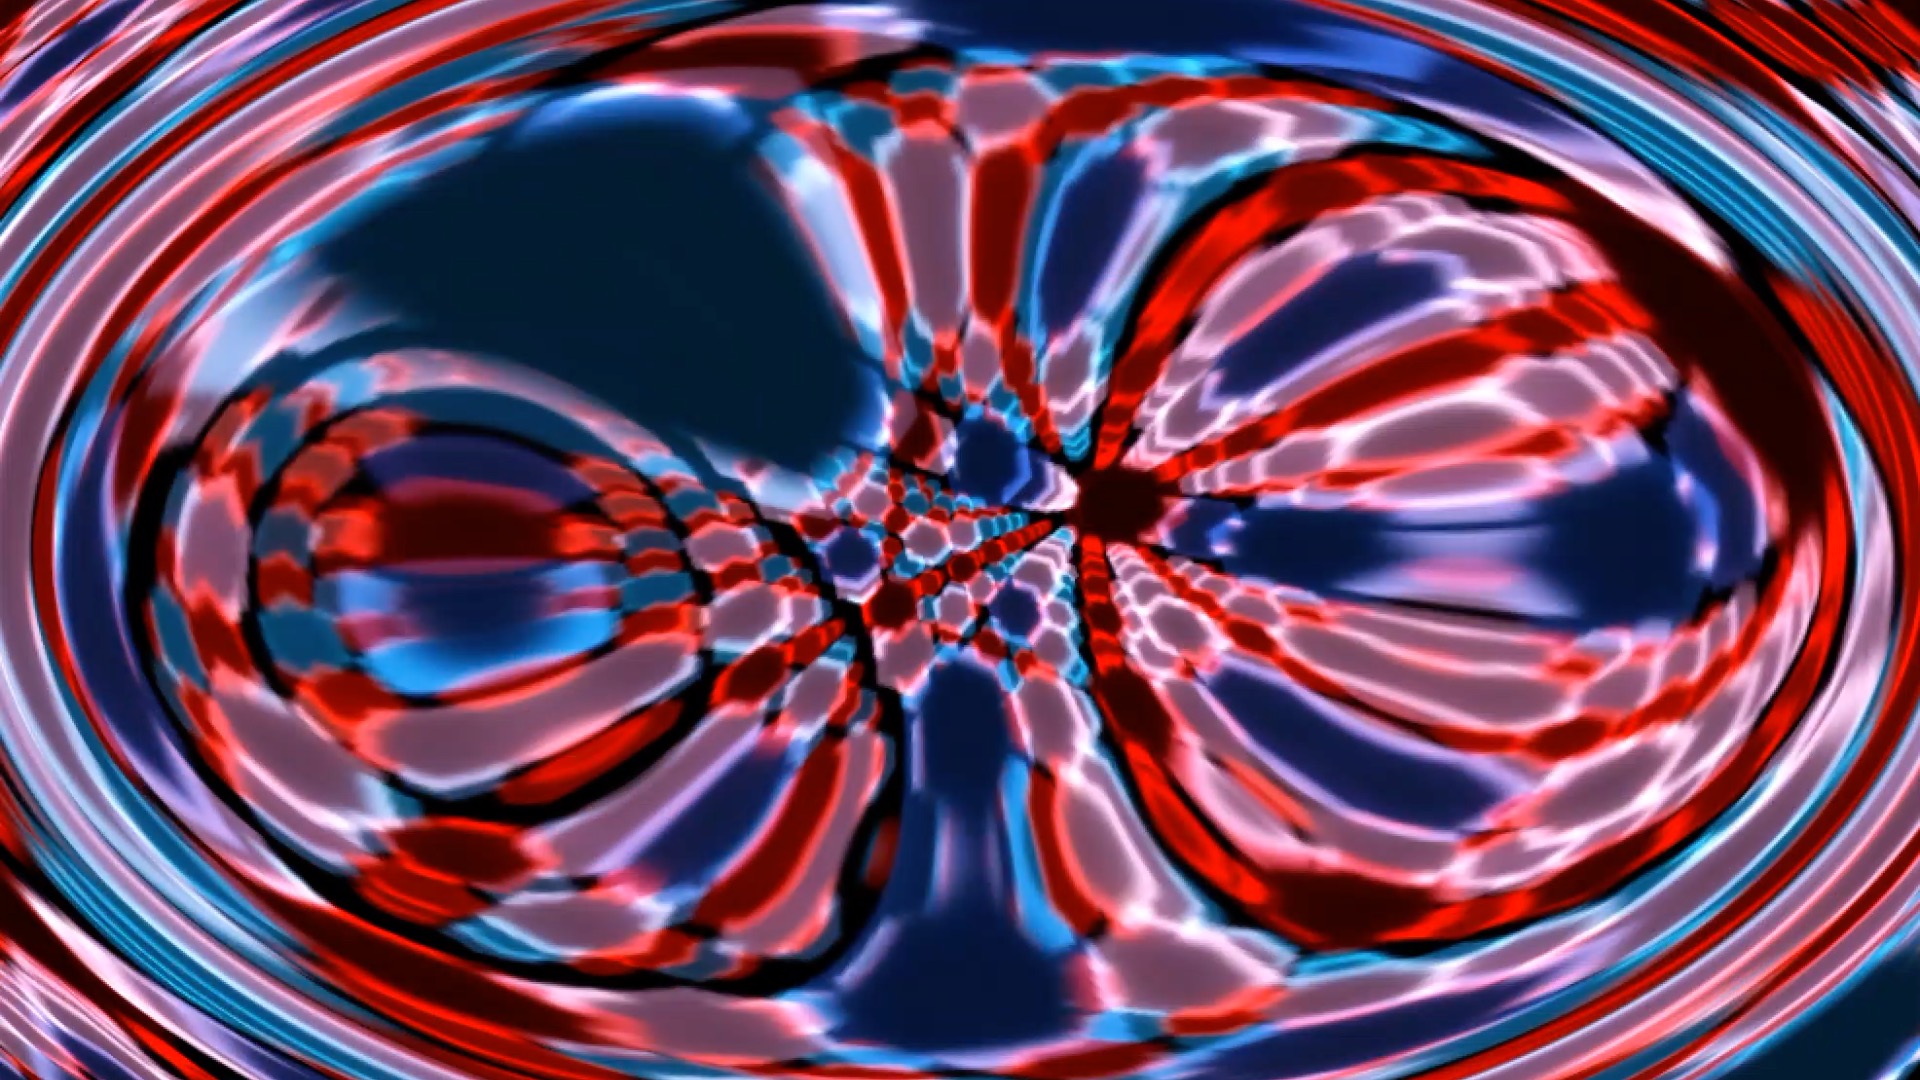
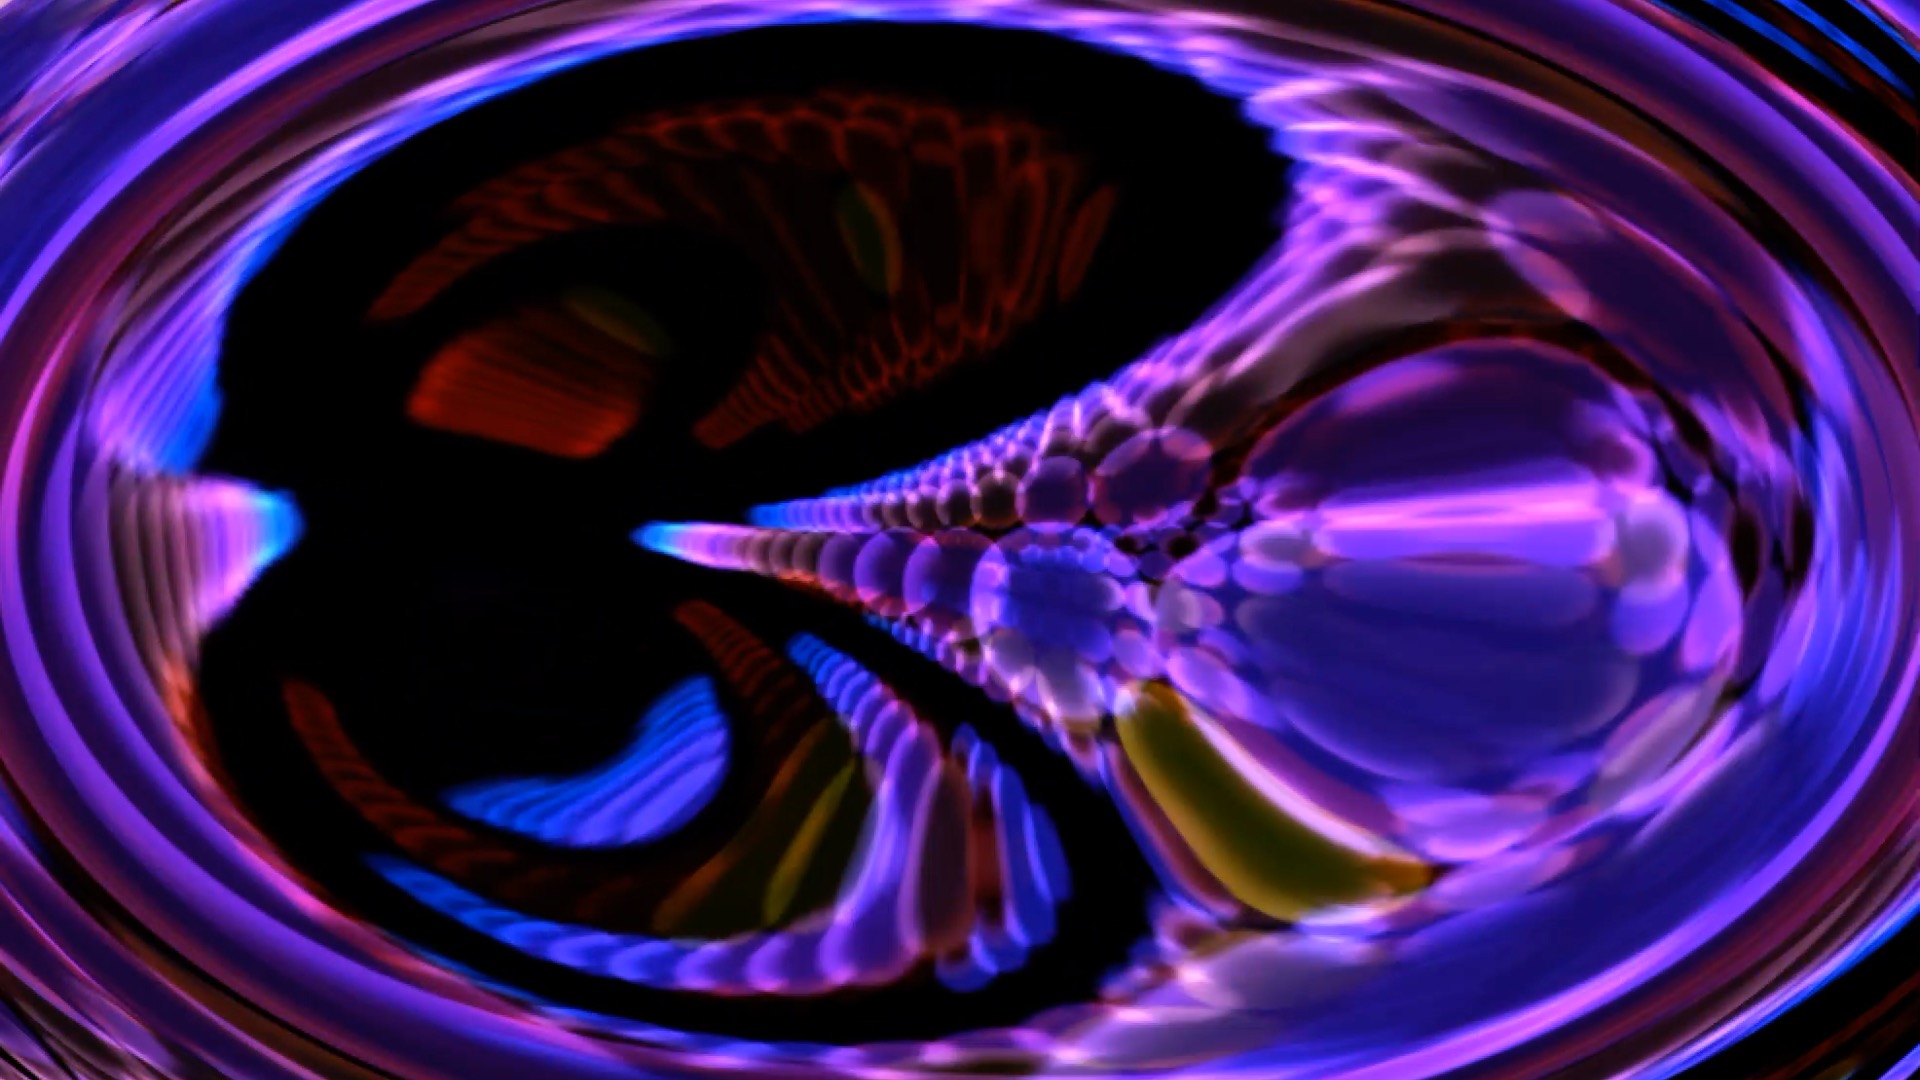
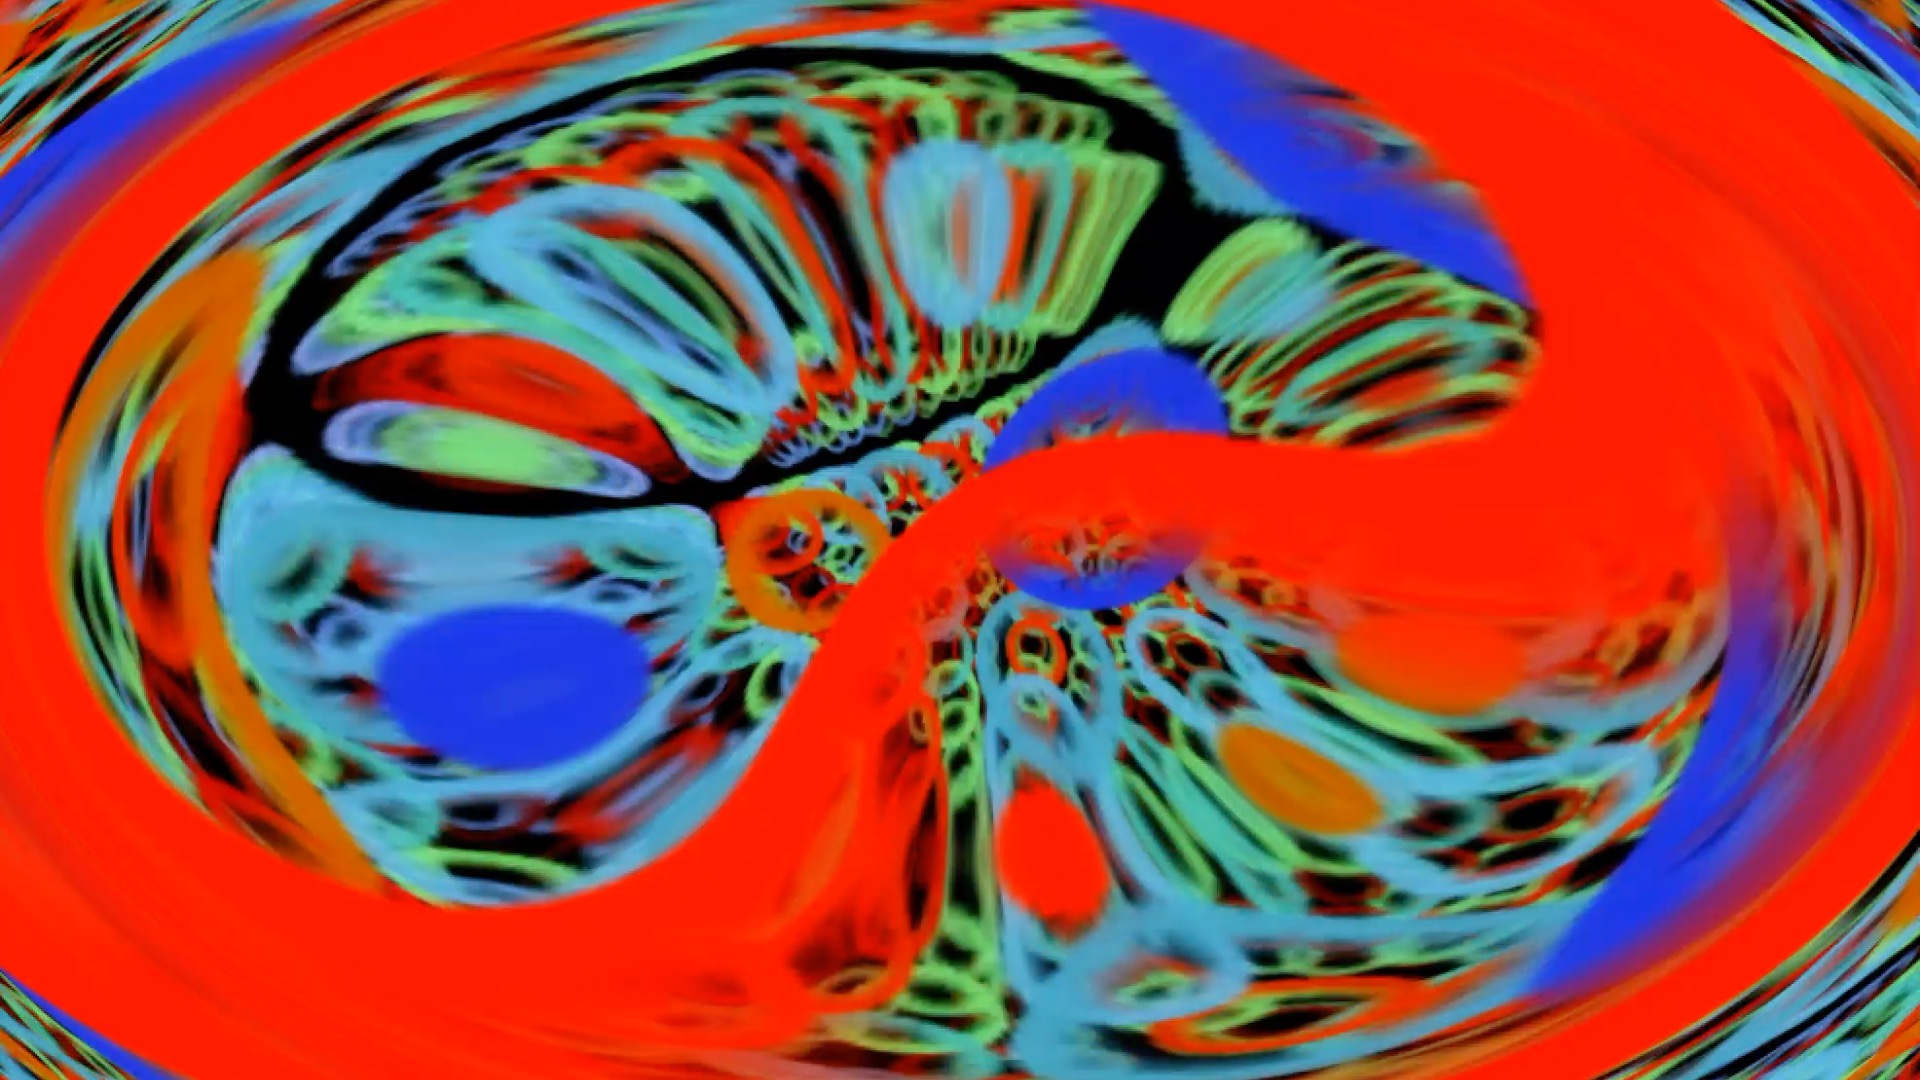
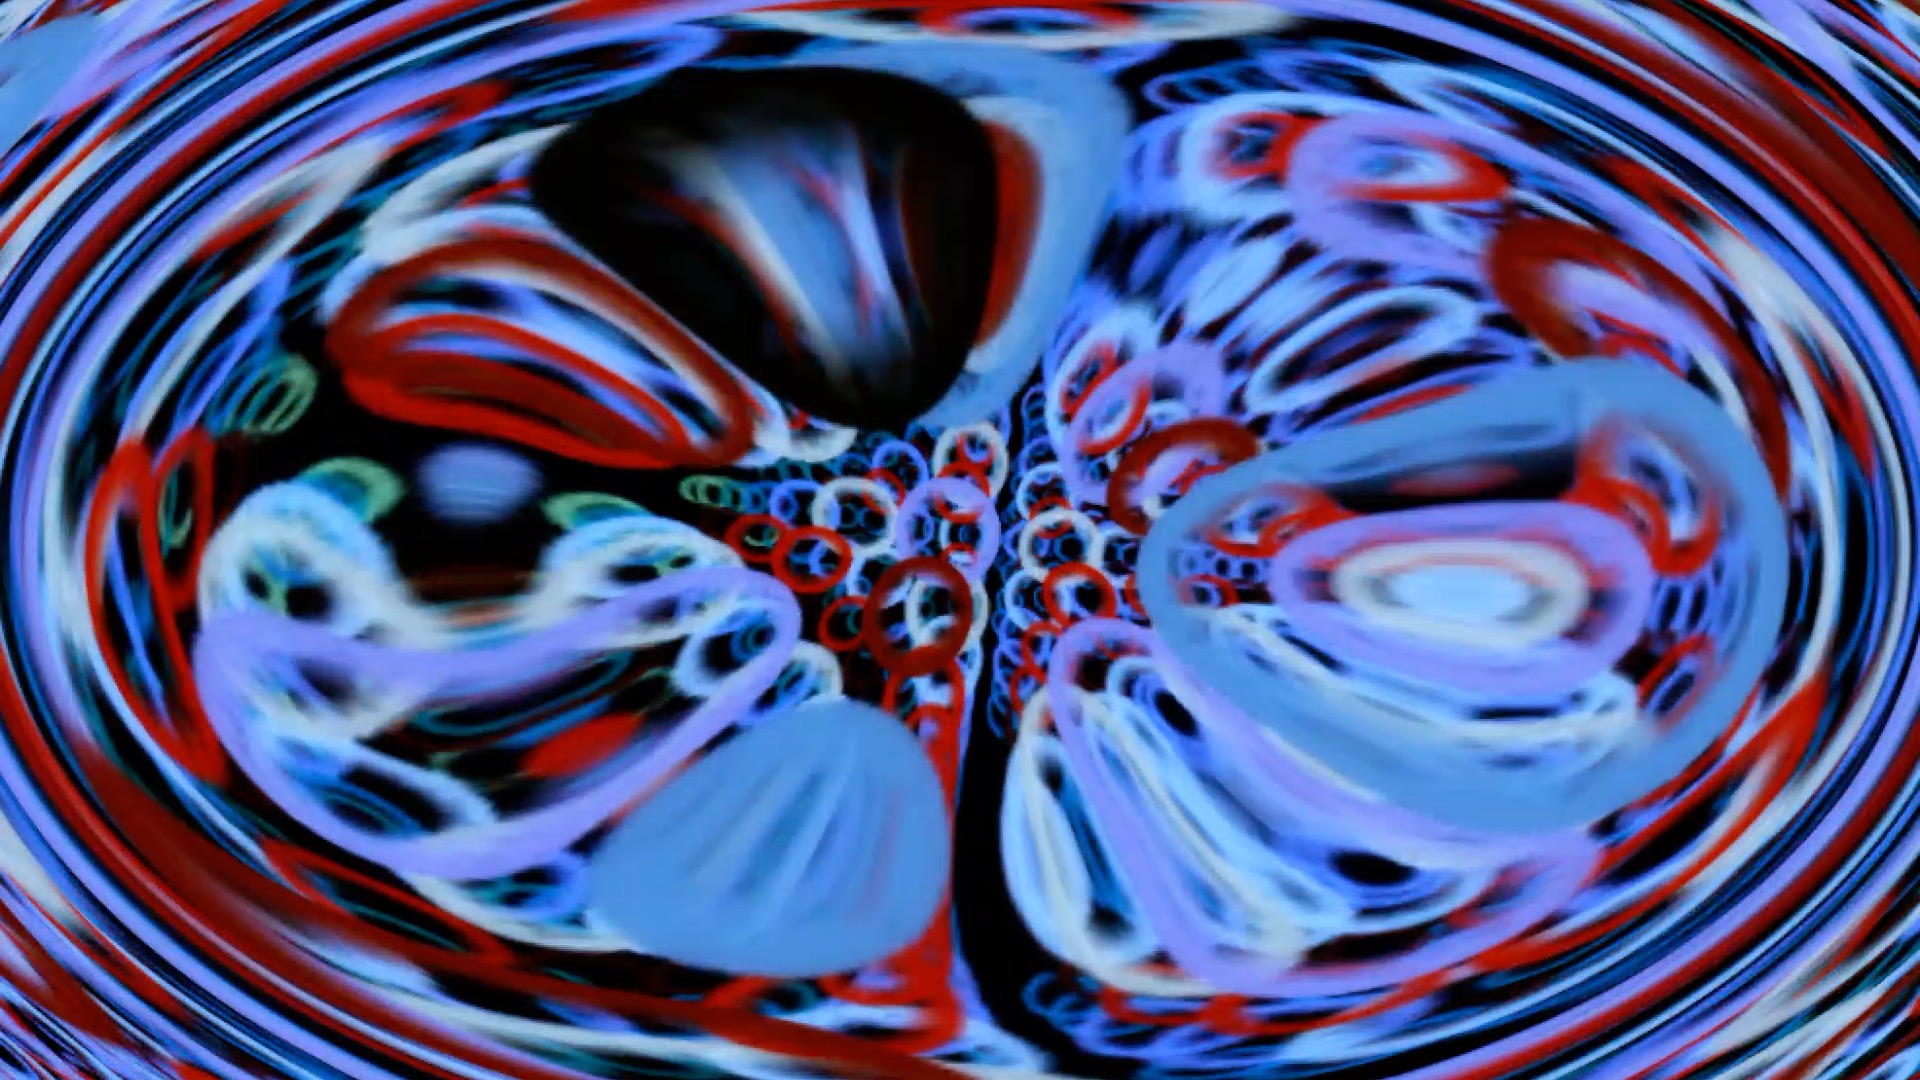
Crystal Vibes officially selected for Kaleidoscope Showcase Vol.2!

Crystal Vibes feat Ott. has been officially selected by Kaleidoscope for exhibition at Kaleidoscope Showcase Vol.2!  Check out the Crystal Vibes project page at Kaleidoscope here. Crystal Vibes will be exhibited alongside brilliant projects such as Chocolate, Dear Angelica, Mind Show, and The Life of Us.  You can see the full line up here!

For more about Crystal Vibes go to the Crystal Vibes main page here!

For more of the brilliant psychedelic dub music producer Ott, visit his website here!

niceimage1.png

Crystal Vibes Prints Now Available to Purchase!

Crystal Vibes is a psychedelic synesthesic full-body-haptic virtual reality experience that I am presenting at Sundance Film Festival 2017.  Please see here for more information and video of Crystal Vibes!

Prints of music visualising fractal art are now available at my new store called Unfurl Media.  Please check them out!

Unity GPU Instancing: Unlit Instanced Shader

Unity GPU instancing allows you to duplicate meshes without using much CPU overhead, which means you can render more cubes or more copies of trees, fishes, fractal geometries, or whatever else you can dream up!

You can read more at in the Unity 5.5 documentation on GPU Instancing.

To Instance a cube object, for example, create a cube GameObject, and then create another empty GameObject, whose transform we will use for the instanced cube.

For instancing to work, you have to use an Instanced Shader on the Material of your cube.  To create a new instanced shader, goto Create => Shader => Standard Surface Shader (Instanced).

The Create menu is found below the Project tab.

The Create menu is found below the Project tab.

Use this shader (or another Instanced shader) on the material of the object you want to instance.  Then add the following script to the cube:

using UnityEngine;
using System.Collections;
using UnityEngine.Rendering;

public class InstanceMesh : MonoBehaviour {

    //Attach this script to the object you want to instance, such as a cube object.  It should have a mesh renderer on it.

    Mesh mesh;
    Material mat;

    //Make an empty game object and drag it into the obj variable in the editor.  This object's transform will be used as the transform for the instanced object.
    public GameObject obj;

    Matrix4x4[] matrix ;
    ShadowCastingMode castShadows;

    public bool turnOnInstance = true;

    void Start () {

        mesh = GetComponent<MeshFilter> ().mesh;
        mat = GetComponent<Renderer> ().material;
        matrix = new Matrix4x4[2]{ obj.transform.localToWorldMatrix, this.transform.localToWorldMatrix};
        castShadows = ShadowCastingMode.On;


        Graphics.DrawMeshInstanced (mesh, 0, mat, matrix, matrix.Length, null, castShadows , true, 0, null);
    
    }

    void Update () {

        if (turnOnInstance) {
            
            mesh = GetComponent<MeshFilter> ().mesh;
            mat = GetComponent<Renderer> ().material;
            matrix = new Matrix4x4[2]{ obj.transform.localToWorldMatrix, this.transform.localToWorldMatrix};
            castShadows = ShadowCastingMode.On;


            Graphics.DrawMeshInstanced (mesh, 0, mat, matrix, matrix.Length, null, castShadows , true, 0, null);

        }
    }
}

Drag the empty GameObject you created into the "obj" public variable on this script in the Inspector.  Now hit play!  The cube should be copied using the transform of the empty GameObject.  Try modifying the position, rotation and scale parameters on the empty GameObject at runtime to see the instanced cube also change, as in the below screenshot.

The cube on the right has been Instanced and copied based on the empty GameObject's transform.

The cube on the right has been Instanced and copied based on the empty GameObject's transform.

Lighting problem

One annoying limitation is that instanced meshes do not work with lighting very well, for example point source lighting.  Only a single directional light seems to work on instanced meshes (please correct me if I am wrong!).

Directional light looks fine...

Directional light looks fine...

Point light only lights original cube...

Point light only lights original cube...

Using Unlit Instanced Shader

One way around this is to not use lighting and use instancing for unlit meshes instead. Unfortunately, there is no Standard Unlit Shader (Instanced) option in the Create menu.  So I just quickly made one:

Shader "Instanced/Unlit"
{
    Properties
    {
        _MainTex ("Texture", 2D) = "white" 
    
    SubShader
    {
        Tags { "RenderType"="Opaque" }
        LOD 100

        Pass
        {
            CGPROGRAM
            #pragma vertex vert
            #pragma fragment frag
            // make fog work
            #pragma multi_compile_fog

            #pragma multi_compile_instancing

            
            #include "UnityCG.cginc"

            struct appdata
            {
                float4 vertex : POSITION;
                float2 uv : TEXCOORD0;
            };

            struct v2f
            {
                float2 uv : TEXCOORD0;
                UNITY_FOG_COORDS(1)
                float4 vertex : SV_POSITION;
            };

            sampler2D _MainTex;
            float4 _MainTex_ST;

            UNITY_INSTANCING_CBUFFER_START(Props)
            UNITY_DEFINE_INSTANCED_PROP(fixed4, _Color) // Make _Color an instanced property (i.e. an array)
            UNITY_INSTANCING_CBUFFER_END
            
            v2f vert (appdata v)
            {
                v2f o;
                o.vertex = UnityObjectToClipPos(v.vertex);
                o.uv = TRANSFORM_TEX(v.uv, _MainTex);
                UNITY_TRANSFER_FOG(o,o.vertex);
                return o;
            }
            
            fixed4 frag (v2f i) : SV_Target
            {
                // sample the texture
                fixed4 col = tex2D(_MainTex, i.uv);
                // apply fog
                UNITY_APPLY_FOG(i.fogCoord, col);
                return col;
            }
            ENDCG
        }
    }
}
Using the Unlit Instanced Shader given above.

Using the Unlit Instanced Shader given above.

Using the unlit shader, you can bake in lighting, or use it for purposes where you don't want to use lighting anyway.

Please let me know if you found this useful!

Adding a detail map

As a freebee, here is also an Unlit Instanced Shader which allows a secondary detail mask so that you can create nice things like the image below:

This shader allows a detail mask that can be used to do interesting things like only highlight the edges, as in this example.

This shader allows a detail mask that can be used to do interesting things like only highlight the edges, as in this example.

Shader "Instanced/UnlitDetail"
{
    Properties
    {
        _MainTex ("Texture", 2D) = "white" {}
        _Detail ("Detail", 2D) = "gray" 

    
    SubShader
    {
        Tags { "RenderType"="Opaque" }
        LOD 100

        Pass
        {
            CGPROGRAM
            #pragma vertex vert
            #pragma fragment frag
            // make fog work
            //#pragma multi_compile_fog

            #pragma multi_compile_instancing

            
            #include "UnityCG.cginc"


            struct appdata
            {
                float4 vertex : POSITION;
                float2 uv_MainTex : TEXCOORD0;
                float2 uv_Detail : TEXCOORD1;
            };

            struct v2f
            {
                float2 uv_MainTex : TEXCOORD0;
                float2 uv_Detail : TEXCOORD1;

                //UNITY_FOG_COORDS(1)
                float4 vertex : SV_POSITION;
            };

            sampler2D _MainTex;
            sampler2D _Detail;

            float4 _MainTex_ST;
            float4 _Detail_ST;

            UNITY_INSTANCING_CBUFFER_START(Props)
            UNITY_DEFINE_INSTANCED_PROP(fixed4, _Color) // Make _Color an instanced property (i.e. an array)
            UNITY_INSTANCING_CBUFFER_END
            
            v2f vert (appdata v)
            {
                v2f o;
                o.vertex = UnityObjectToClipPos(v.vertex);
                o.uv_MainTex = TRANSFORM_TEX(v.uv_MainTex, _MainTex);
                o.uv_Detail = TRANSFORM_TEX(v.uv_MainTex, _Detail);
                //UNITY_TRANSFER_FOG(o,o.vertex);
                return o;
            }
            
            fixed4 frag (v2f i) : SV_Target
            {
                fixed4 col = 0;

                // sample the texture
                fixed3 main = tex2D(_MainTex, i.uv_MainTex).rgb;
                fixed3 detail = tex2D(_Detail, i.uv_Detail).rgb;


                col.rgb = main * detail;

                // apply fog
                //UNITY_APPLY_FOG(i.fogCoord, col);
                return col;
            }
            ENDCG
        }
    }
}

Occlusion culling illustration

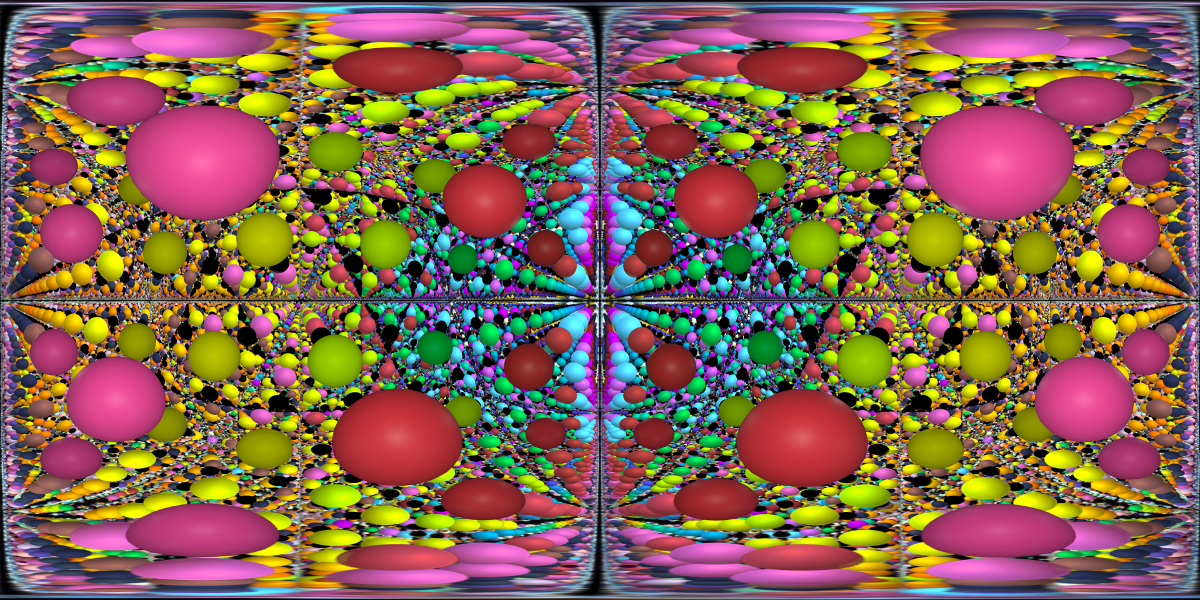
I made this! It shows the spheres that would be visible from the point of view of someone standing in the center of a huge cubic lattice field of spheres, with the space filling factor changing from very small to very large and back. Black regions are where spheres are not visible due to occlusion from foreground spheres.

I extended the method to 3 dimensions. The following shows the visible spheres in a 3D cubic lattice viewed from the center (200X200) with a radius-to-spacing ratio of 0.12 and an angular z-depth buffer with angular resolution of pi/8000.  The gif scans through one of the symmetric dimensions in time, and plots the other two dimensions in the x-y plane of the screen.  It creates a very mesmerising pattern, don't you think?

I created an occlusion culling algorithm in order to make the rendering of spherical opaque objects in 3D space more efficient, for making videos like this one: 

Recent Releases!

If you have an iPhone, please download my latest sound and music visualization related apps!

Paint amazing abstract paintings using your music library or microphone input!  MusicPaint is create for creativity and just playing around.

And for those wanting more music visualizing VR madness, try this older free one too!

Thanks for your support and I hope you enjoy the apps.  If you do, please remember to rate the apps on the App Store, it is a great help if you do. Lot's of love!

Gravitational Waves: Visualisation and Audiolisation of Gravitational Spectra

If the gravitational wave spectrum were actually a spectrum of light, what colour would it be? 

Using audiolizations of theoretically calculated gravitational waves (thanks to http://web.mit.edu/sahughes/www/sounds.html), I made an audial impression of what it may sound like in the future to listen to the cosmos, like tuning into gravitational radio.

The visualisation takes the gravitational waves and maps them onto the visual spectrum.  Then using information about how our eyes perceive colour from light spectra, the colour of the spectrum is determined.  This colour is then presented as a function of time, as you can see in the video.

A virtual reality version of this visualisation will be demonstrated at the upcoming IEEE Virtual Reality Mixed Reality Art (MRA2016) workshop, and will be made available for iOS and Android (including a cardboard VR version) in March.  This is also related to my music visualisation in virtual reality project, please have a look!  

The Knife in a Fusion Device

The Knife is one of my favourite artists but their latest music is a little bit out there, and certainly a challenge to visualise.  

Here is an excerpt from one of their tracks, "A cherry on top", visualised using some new techniques I have implemented recently, including separation of low and high frequency groups into a dual-channel visualisation, and the use of some of Unity's inbuilt shaders to give that warped look.  Click on the video:


Dream Land

This weird dream land has a big surprise.  Please download and play, and see if you realise something funny about the nature of your reality. Download:

For Mac!

For Windows!

An explanation (spoiler alert) is at the bottom.

I was interested in using virtual reality to create a training program that would help people to notice when they are dreaming, in order to enhance people's abilities to have lucid dreams (i.e. a dream in which one knows they are dreaming).  

In dreams, when you look at something (like a clock or some text) and then look away, and turn back again, the text or clock will have changed, be unreadable, or otherwise weird.  

This is because the world you experience in a dream isn't really a world at all.  And your brain doesn't bother to hold the information about the parts of your dream world that you are not looking at.  

But the funny thing is, we never seem to notice this when we are dreaming, even though we dream 7 or so times every single night.  In fact, when similar 'changing world' phenomena happen when we are awake, we ALSO don't notice!  It is called change blindness, and it's why 'spot the difference' is more difficult than we think it ought to be.

And therein lies the twist to this demo.  The objects in the demo are only as real as your attention; as soon as you look the other way, the entire landscape changes.  Try it out and see!  The Dream Land is not an objective reality at all but an ever shifting and changing dream, just like real dreams! 

For most people who are not told beforehand, they do not notice at all!

But when they do notice, I hope that it represents a light-bulb moment, a realisation about something about the reality in which they reside, that will help them to one day make the same realisation in a real dream when they notice the same phenomenon.  

Incidentally, the realisation about the nature of one's dream world is an analogy for enlightenment in the waking world.  So really, this project is ultimately about getting us a little step closer to enlightenment, using virtual reality. Ha!

Unfortunately for me, it seems there is some work showing no correlation between performance in change-blindness tasks and lucid dream frequency, which suggests I'm barking up the wrong liquid-crystal-textured dreamland.  It seems that zapping your brain with electricity does the trick though, according to this nature paper!

Textures used in this demo are available to use for free for your own projects from my flickr album.

Resin cast into mahogany using liquid crystal pattern

My good friend Oliver Coles has used my liquid crystal photography to create this coffee table surface. Using the image as a template with a CNC milling machine, he etched the pattern into mahogany and filled it with resin. The structure is back-lit with 140 addressable LEDs for a colourful light up effect. The first image is a photograph of the original liquid crystal; for more liquid crystal images like this, take a look at the liquid crystal photography page here! 

Many thanks to Oli for using my photography.  Take a moment to check out his website and other projects!

Free liquid crystal textures for 3D worlds

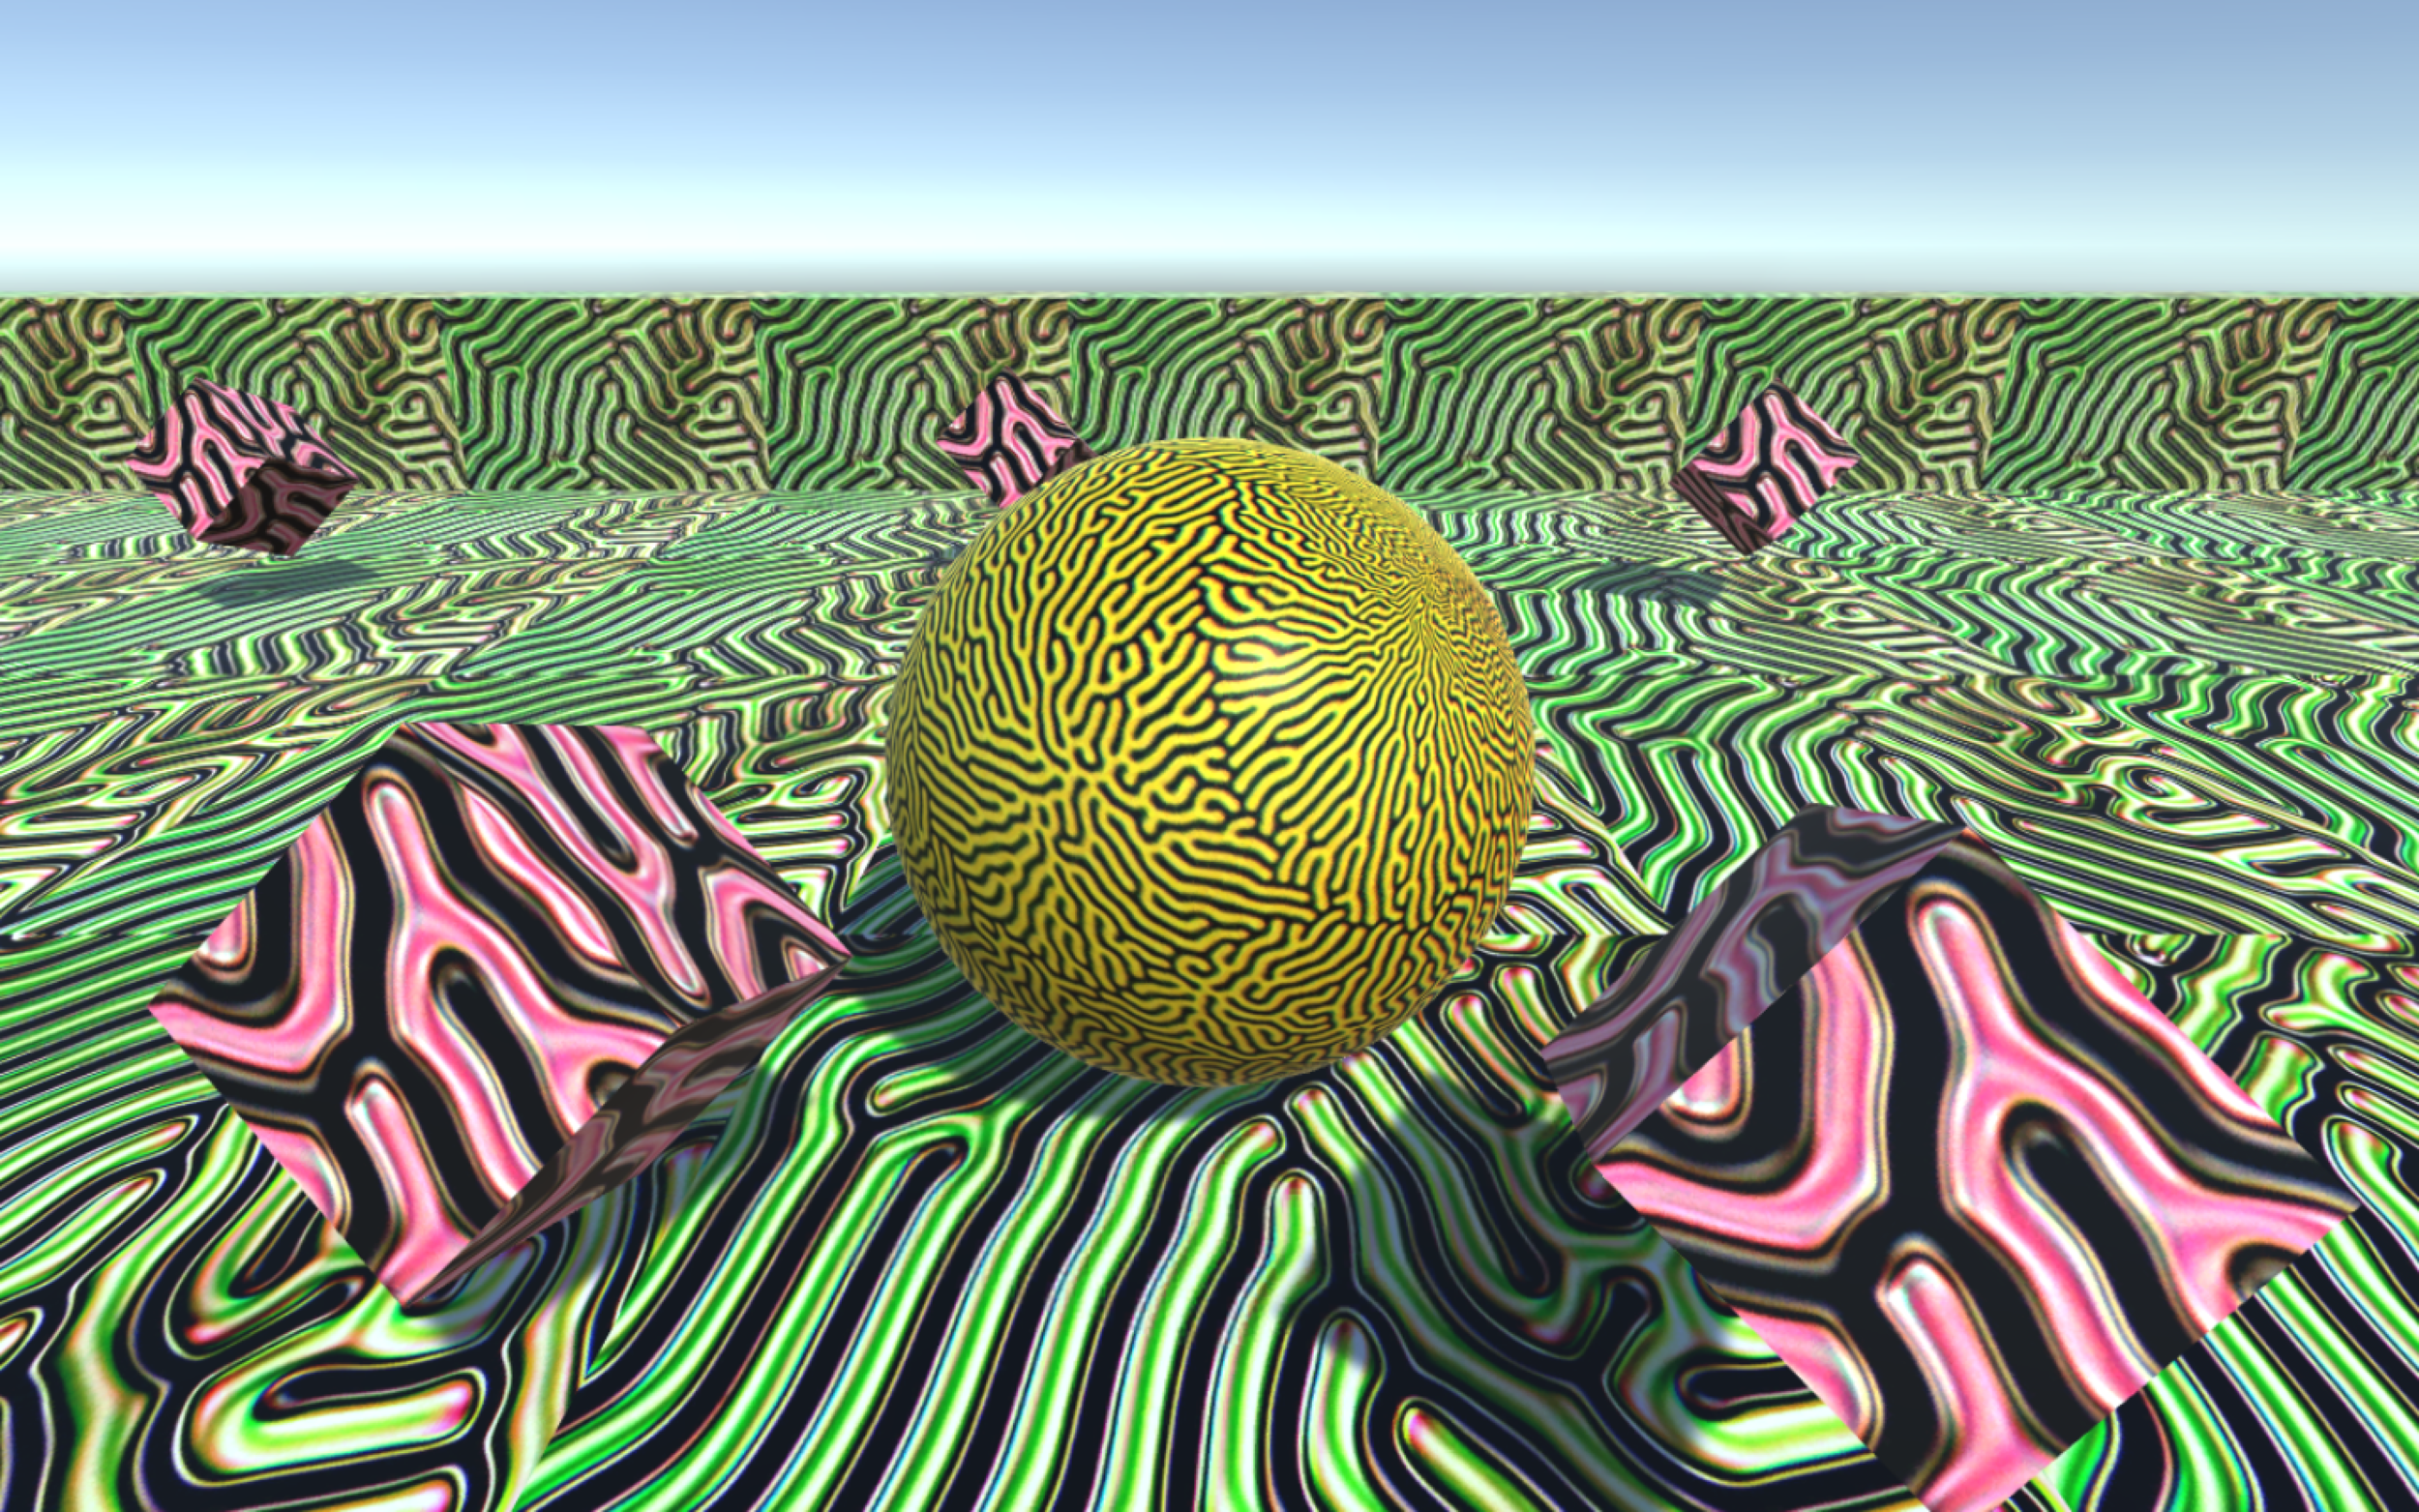
I have made available my entire collection of liquid crystal photos for anyone to use in their own projects.  The collection can be found here!  A friend Oliver Coles has already used them to create unique furniture designs. The most beautiful liquid crystal images are showcased over on the liquid crystal page.  Below are some screenshots and a video demo of their use in the roller-a-ball scene in Unity3D (you can build this game yourself in a few short hours by following the Unity's tutorial here).